As an Amazon Associate, we earn from qualifying purchases. Some links on this site are affiliate links at no extra cost to you. Our recommendations are based on thorough research and editorial judgment.

Can Headphone Cushions Be Replaced?

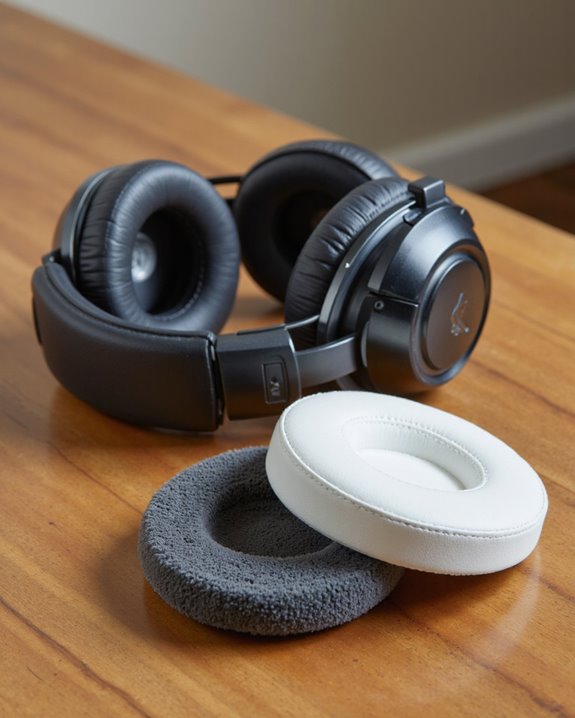
Yes, headphone cushions can be replaced, and doing so is one of the cheapest ways to bring a tired pair of headphones back to life. Most models attach their ear pads with tabs, clips, or an adhesive ring, so swapping them out rarely takes more than a few minutes and a bit of patience. I recommend replacing cushions every six months to a year depending on how hard you use them, since fresh pads restore the seal that keeps noise out and bass tight. The trick is picking cushions that actually fit your specific model and seal properly – get that right, and the upgrade pays off immediately in comfort and sound.
Key Takeaways
- Headphone cushions can be replaced whenever you notice flaking, tearing, flattening, or general discomfort.
- Compatible replacement pads exist for nearly every popular headphone model on the market, and they can bring back comfort and sound quality in one shot.
- Pulling off old ear pads is usually as simple as gripping an edge and easing them off – just don’t yank hard enough to damage what’s underneath.
- New cushions need to line up correctly and press into place so the seal around your ears stays airtight.
- Go with high-quality, model-matched pads; cheap universal ones can throw off the acoustic tuning your headphones were designed around.
Telltale Signs Your Headphone Cushions Need Replacing
You may be interested



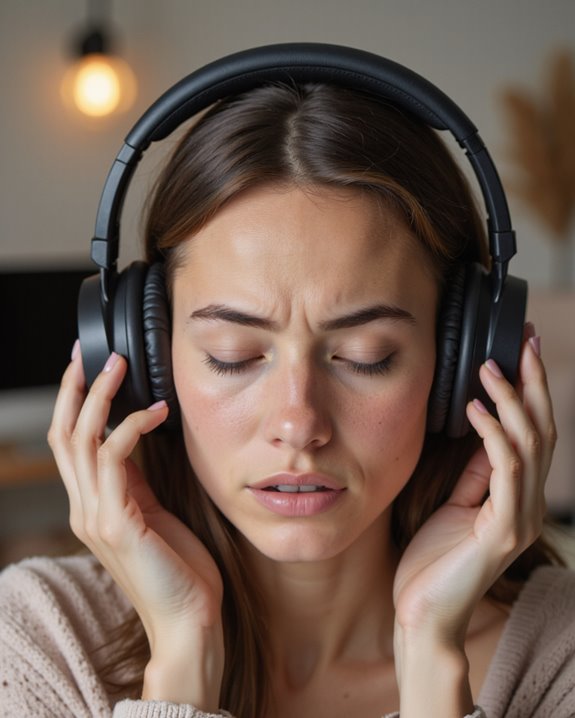
Ear cushions look like a throwaway part of your headphones, but ignoring their condition costs you comfort and sound fidelity in equal measure. Watch for flaking, tearing, or flattening – these are visible signs the foam or leather is breaking down, and once that happens, the acoustic seal starts to leak. As a rough guide, plan on replacing pads every six months to a year under normal use. Got facial hair? Expect the friction to chew through cushions faster, so you’ll likely be swapping them more often than that. Extreme heat, cold, or careless storage speeds up the wear too. And if you start noticing the headphones feel less comfortable or the sound seems thinner than it used to, that’s your cue – don’t wait for the pads to fall apart before replacing them.
Why Bother Replacing Worn-Out Ear Pads
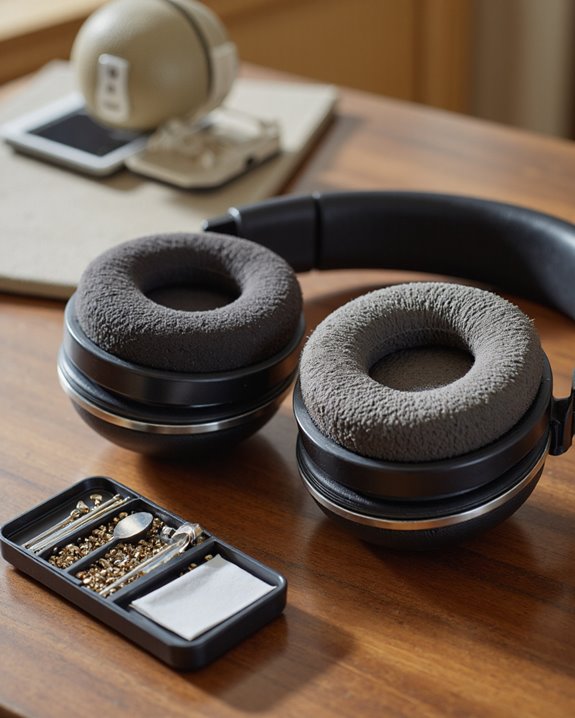
Once you’ve spotted the wear, the payoff for actually replacing the pads is bigger than most people expect. A fresh seal around your ears immediately improves noise isolation and tightens up the bass response – not a subtle difference, whether you’re casually listening or doing critical mixing work. Comfort improves too, letting you wear the headphones for hours without that pinching or sweaty feeling that worn foam tends to cause. Left alone, degraded cushions drag down both durability and performance over time, so replacing them every six months to a year keeps things running the way they should. New pads also put you back in line with how the manufacturer tuned the sound in the first place – you’re hearing the headphones as intended, not as a compromise. It’s cheap insurance for both comfort and audio quality. Worth noting: if your headphones carry noise reduction ratings, keeping the pads fresh matters even more, since a worn seal undermines the hearing protection they’re built to provide.
How to Pull Off the Old Cushions
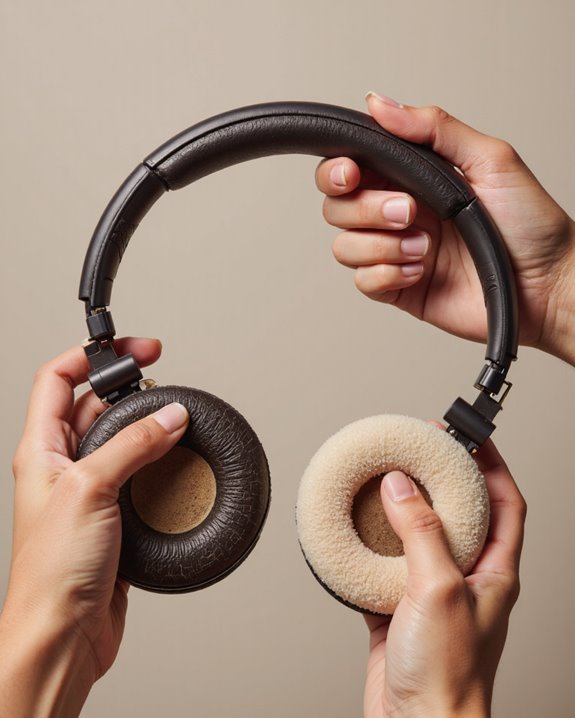
Set the headphones on a flat, stable surface first – trying to do this in your lap just makes it harder to control. Grab one side of the cushion and pull outward and upward with steady, even pressure; resist the urge to yank. Be careful around the driver cover inside the earcup – that thin layer over the speaker matters for audio performance, and it’s easy to tear if you’re not paying attention. Some earcups hide small tabs or clips along the inner rim, so gently work those loose if you feel resistance rather than forcing the cushion off. Once it’s free, take a second to inspect the earcup for leftover adhesive, dust, or grime – that residue can mess with how well the new pad seats. A clean, undamaged earcup surface is what actually determines whether your replacement cushions fit snugly and last.
Installing the New Ear Pads, Step by Step
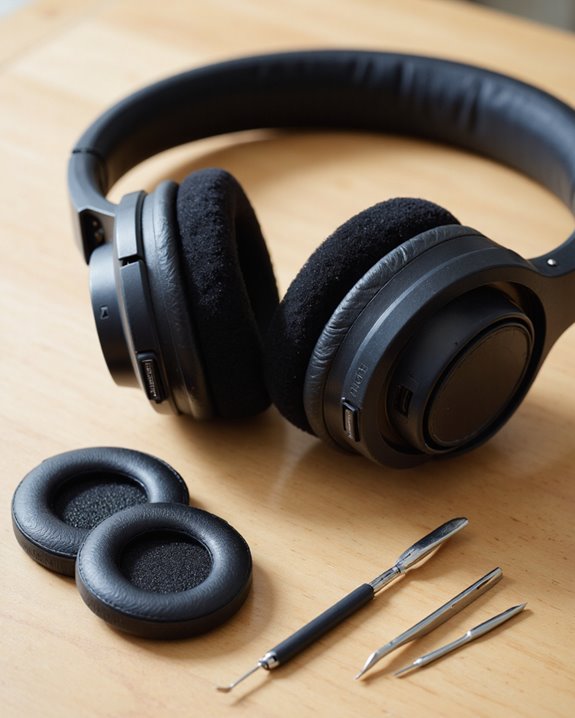
With the old pads gone and the earcup wiped clean, it’s time to fit the new ones. Look for the small mounting tabs along the inner rim of each earcup – these are what actually lock the new cushion in place. Line up the mounting flange on the back of the replacement pad with that rim, matching the original orientation (most pads are marked or shaped so you can’t get this wrong, but double-check anyway). Press evenly around the edge, working your way around rather than pushing one spot hard, until you feel the cushion snap or seat into place. Skipping a section leaves a gap, and even a small gap breaks the acoustic seal and lets sound leak in both directions. Once it’s on, run a finger around the whole perimeter to confirm it’s fully seated everywhere. Taking the extra thirty seconds here is what separates a pad job that sounds right from one that doesn’t.
Choosing Replacement Cushions That Actually Fit
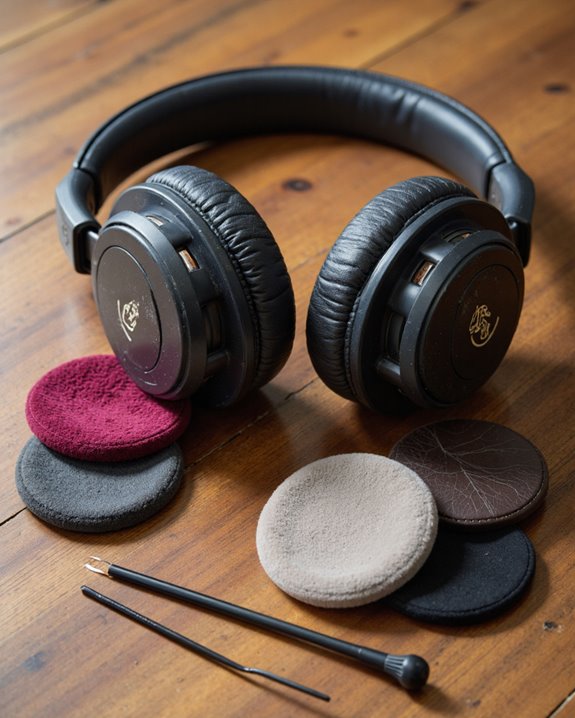
So how do you make sure the replacement actually delivers on comfort and sound? Compatibility comes first, full stop – pads made for the Beats Studio 2 won’t necessarily fit a Studio 3, so match your exact model before you buy anything. Material matters almost as much: leather holds up well and blocks outside noise effectively, velvet breathes better for long sessions but leaks a bit more sound, and memory foam feels plush but can loosen the seal if it’s too soft. If noise cancellation is a priority, favor pads that form a tight, consistent seal against your head rather than ones that just feel soft in the store. It also pays to read user reviews before committing – real owners will tell you if a pad degrades in three months or holds up for two years. Weigh all of that together and you land on a pad that keeps your Beats Studio headphones (or whatever you’re wearing) sounding and feeling the way they should. One more thing to factor in: plenty of high-end headphones rely on memory foam padding to spread pressure evenly across your head, so keep that in mind when you’re shopping for replacements.
How Cushion Material Changes What You Hear
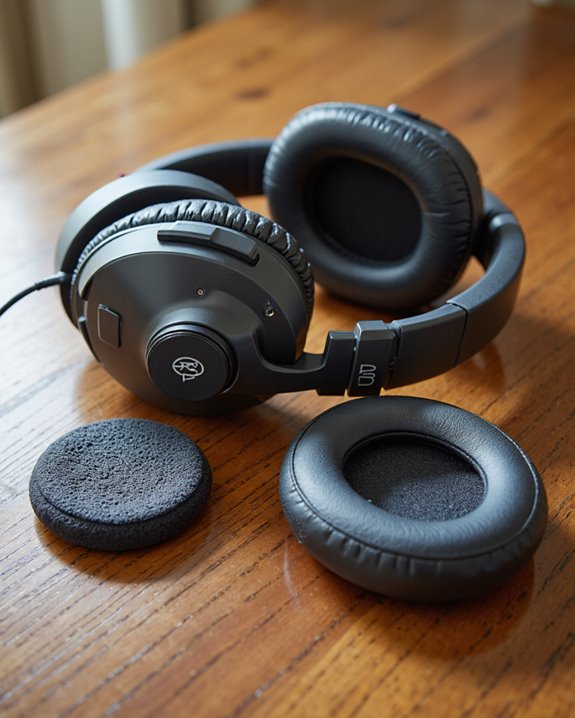
It’s easy to overlook, but the material your ear cushions are made from genuinely shapes the sound signature you hear. Foam, leather, and velour each push things in a different direction. Dense foam tends to add a bit more bass thanks to the extra damping it provides. Leather seals better, cutting down on outside noise and leakage, which is why studio and travel headphones often ship with it. Velour opens things up – airier, more spacious-sounding – at the cost of some isolation. Even the thickness and angle of the pad plays a role, subtly bending how sound waves reach your ear canal and nudging the frequency response one way or another. If you’re the type who notices these differences, swapping cushion materials is basically a free tone tweak.
How to Make Your Cushions Last Longer
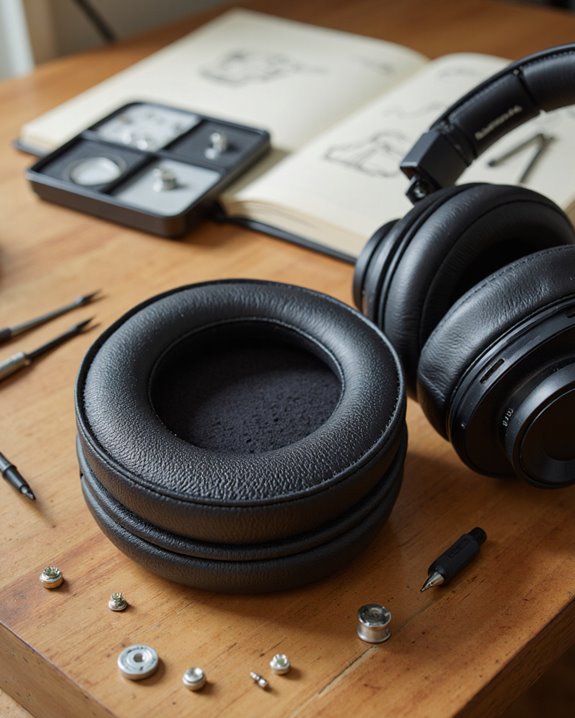
Keeping your cushions in good shape isn’t just about looks – it directly protects sound quality and comfort down the line. Wipe them down regularly with a dry, lint-free cloth to clear off skin oils and dust before they work into the material and start breaking it down. Store your headphones somewhere cool and dry; humidity and heat are two of the fastest ways to age foam and leather prematurely. Check in on them every so often for flaking, flattening, or tearing – those are the signals that it’s time to swap the pads rather than keep pushing them. Keep cushions away from sharp objects and don’t crush them under other gear in a bag. And as a baseline, budget for a replacement every six months to a year with regular use if you want consistent comfort and sound quality the whole time you own the headphones.
Where to Find Replacement Pads for Major Brands
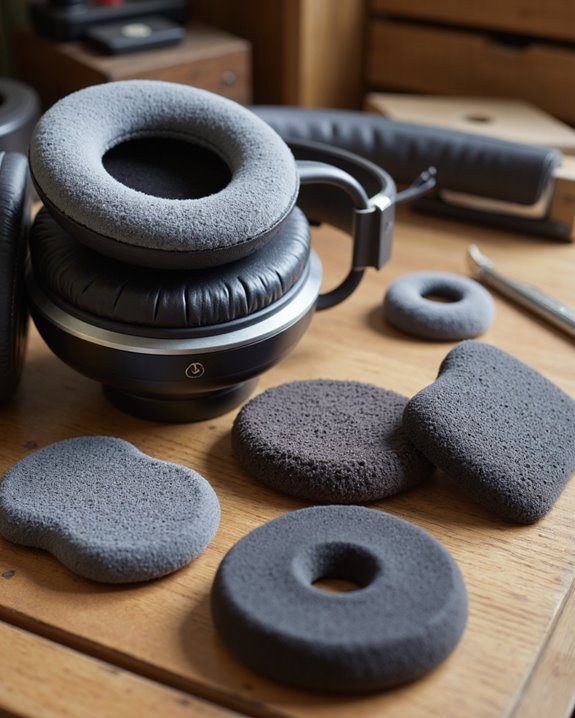
If you’d rather refresh your headphones than buy a whole new pair, the good news is replacement pads exist for just about every major brand.
Bose makes replacement pads for the QC35 line that are built for a precise fit without sacrificing the acoustic seal. Beats Studio pads combine memory foam with protein leather for a noticeable comfort bump. Gaming setups aren’t left out either – Corsair Virtuoso earpads bring plush padding suited to marathon sessions. For the more clinical listeners among us, Sennheiser HD 280 and Sony WH-CH500 replacement pads are built to match the originals closely enough that sound stays consistent. Most of these now come in several colors and materials, so you can personalize your setup without giving up performance. Prices swing quite a bit by retailer, so it’s worth shopping around before you commit to a pair.
Frequently Asked Questions
Is it possible to replace headphone cushions?
Yes – and it’s one of the easiest DIY fixes in audio gear. As long as you buy pads that match your model, swapping them takes minutes and instantly restores comfort and sound quality.
Can you buy replacement ear pads for headphones?
Definitely. There’s a wide market of replacement ear pads out there, covering different materials, shapes, and colors, so you’ve got plenty of room to personalize your headphones while you’re at it.
What should you do if a headphone cushion falls off?
Don’t panic – just inspect it, realign the tabs or flange, and press it back into place. If it won’t stay seated snugly no matter what you try, that’s a sign the pad is worn out and needs replacing rather than repairing.
Can you buy replacement headphone pads?
Yes, and you’ll have plenty of materials and styles to pick from. Just double-check compatibility with your specific headphone model first so the fit and seal come out right.